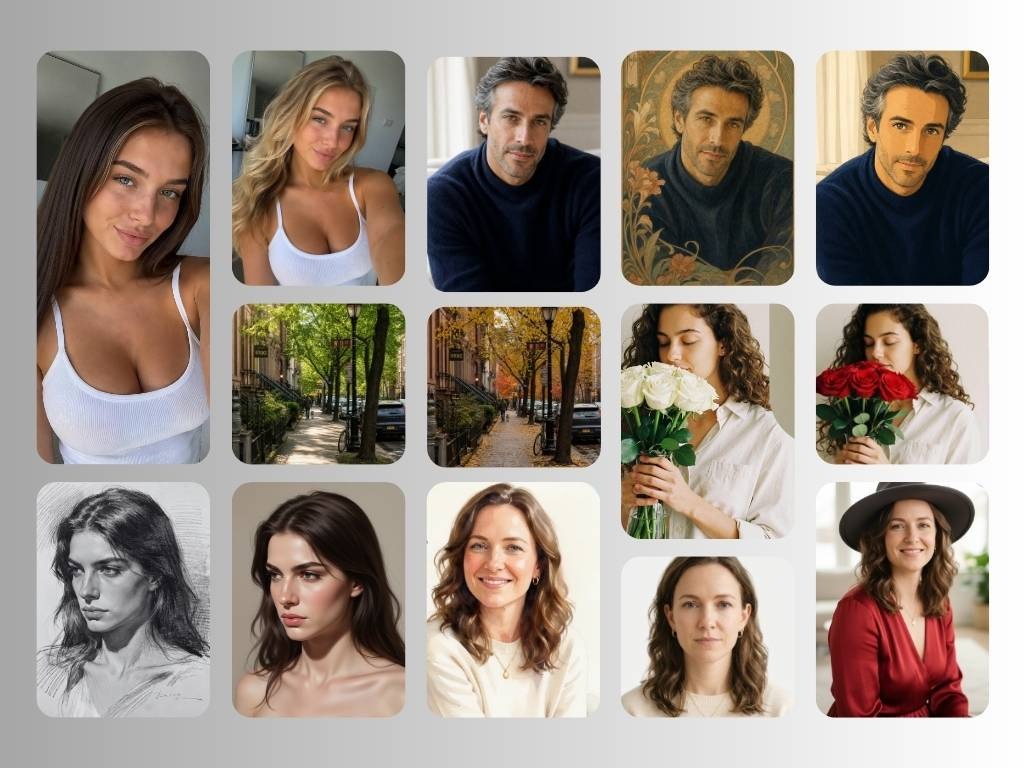

Editing photos used to mean installing bulky software, learning complex menus, and spending far too long on simple fixes. That is no longer the case. Today, AI-powered web tools let you improve images in a browser, often in just a few clicks. You can remove distractions, sharpen details, adjust backgrounds, fix lighting, and create cleaner visuals without needing advanced design skills.
For bloggers, online sellers, students, social media managers, and small business teams, that shift matters. A fast online workflow makes it easier to clean up product shots, refresh marketing images, improve profile pictures, and prepare content for websites or social posts. Instead of waiting until you are back at a desktop editing setup, you can get a solid result from almost any device with a browser.
If you want a simple starting point for browser-based editing, an ai image editor can handle many common fixes such as object removal, enhancement, and quick visual cleanup.
If you want another flexible option for everyday browser editing, a free ai photo editor workflow can help you improve photos without paying for heavy desktop tools.
This guide explains how to edit photos online for free with AI-powered tools, what kinds of edits work best in a browser, and how to get more natural-looking results without overdoing the effect.
Why online AI photo editing is so useful
Traditional photo editing tools are powerful, but they can be slow for everyday tasks. If your main goal is to remove a distracting background object, brighten a dim image, sharpen a blurry shot, or prepare visuals for a blog post, you do not always need a professional desktop suite.
Online AI editors speed up the most common jobs by automating the hard part. Instead of manually tracing objects or tuning every setting from scratch, you upload a photo, choose the effect you want, and let the tool build the first result for you. That saves time and makes photo editing more approachable for people who are not trained designers.
The biggest advantage is convenience. You can work from a laptop, tablet, or even a phone browser, which makes these tools practical for fast marketing work, ecommerce updates, classroom projects, or social content prep.
What you can usually do with AI photo editors online
Most browser-based AI editors now cover a surprisingly broad set of photo tasks. While every platform is different, these are the most common features you can expect:
| Editing task | What AI helps with | Best use case |
| Object removal | Rebuilds the background after removing distractions | Product photos, travel shots, portraits |
| Background cleanup | Separates or simplifies the subject area | Marketplace listings, profile photos |
| Image enhancement | Improves sharpness, contrast, and clarity | Old images, soft screenshots, blog visuals |
| Lighting correction | Brightens dark images or balances exposure | Indoor photos, phone pictures |
| Retouching | Smooths small flaws or visual noise | Portraits, social media images |
| Creative edits | Applies style or prompt-based changes | Marketing graphics, concept visuals |
These features are useful because they shorten the gap between “raw photo” and “ready to publish.” In many cases, the AI result is not the final step, but it gives you a strong draft that only needs a small amount of adjustment afterward.
When free online tools are enough
Free AI tools are often more than enough for everyday content work. If you are editing photos for blog posts, class assignments, basic social graphics, personal projects, or small online stores, browser-based tools can cover most of what you need.
They are especially effective when the edit is clear and limited in scope. For example, removing a sign from a background, cleaning up a product photo, fixing a dark portrait, or sharpening a low-quality image are all tasks that AI tools handle well. The simpler the edit and the better the original image, the better the outcome tends to be.
That said, free tools can have limits. Some reduce export quality, cap image size, or restrict how many edits you can make. Others are excellent for one type of task but weaker for precision work. The good news is that even with those limits, free workflows are often enough to produce polished results for web publishing.
A step-by-step workflow for editing photos online with AI
If you want better results, it helps to follow a simple order instead of applying random effects one after another. A structured workflow prevents over-editing and keeps the final image more natural.
| Step | What to do | Why it matters |
| Start with the best source image | Upload the highest-quality version available | Better source files produce better AI edits |
| Decide on one main goal | Pick the most important fix first | Keeps the edit focused and faster |
| Apply cleanup before enhancement | Remove distractions before sharpening | Prevents defects from becoming more obvious |
| Improve overall quality | Adjust lighting, sharpness, and balance | Makes the image look finished |
| Review at real size | Check the photo in its final use context | Helps catch artifacts and over-editing |
Step 1: Upload the best version of the image
AI tools can only work with the information in the file you provide. If the image is heavily compressed, tiny, or blurry from the start, the editor has less detail to rebuild. You will usually get a better result by starting with the original photo instead of a screenshot copied from social media or chat.
If you have several versions of the same image, use the highest-resolution copy with the fewest visible artifacts. This gives the AI a stronger base for cleanup, retouching, and enhancement.
Step 2: Choose your main editing goal
Many people make the mistake of trying to fix everything at once. A better approach is to decide what matters most about the image. Are you trying to remove an unwanted object? Improve brightness? Make a product photo cleaner? Sharpen details for a blog header?
Once you know the main purpose of the image, your editing decisions become much easier. You can use the AI feature that solves the biggest problem first, then make smaller improvements only if they support that main goal.
Step 3: Remove distractions before improving detail
Cleanup should usually come before enhancement. If the image contains a distracting object, watermark, text element, messy background detail, or unwanted blemish, remove it first. If you sharpen or boost the image before cleanup, you may make those distractions stand out even more.
This step is especially important for product photos and portraits. A strong cleanup pass can make the image feel more professional before you touch brightness, contrast, or texture.
Step 4: Adjust quality and tone
Once the major distractions are gone, you can improve the overall look of the photo. This is where AI tools are especially useful for non-designers. Many can automatically brighten underexposed images, improve contrast, sharpen soft details, and make colors feel more balanced.
The key is moderation. A slightly brighter, cleaner, and sharper photo usually looks better than one that has been pushed too far. If skin looks plastic, edges look harsh, or colors seem unnatural, pull the effect back if the tool gives you that option.
Step 5: Review the edited image in context
Always check the result where it will actually be used. A photo that looks fine in the editor may feel too dark on a website, too soft in a product listing, or too aggressive in a social post. Previewing the image at the final size helps you catch those issues early.
This is also the best time to ask a simple question: does the image look natural? AI editing works best when it supports the photo instead of drawing attention to itself.
Best edits for different use cases
Different kinds of photos benefit from different AI edits. Matching the tool to the task will help you move faster and get cleaner results.
| Use case | Most useful AI edits | Common goal |
| Product photos | Background cleanup, object removal, sharpening | Make the item look clean and clear |
| Blog graphics | Enhancement, cropping, light retouching | Improve readability and visual appeal |
| Portraits | Blemish cleanup, lighting correction, subtle retouching | Keep the subject natural but polished |
| Social media visuals | Background edits, prompt-based enhancements | Create fast, eye-catching images |
| Old or low-quality photos | Upscaling, denoising, contrast improvement | Restore detail and improve clarity |
Common mistakes to avoid
The most common mistake is over-editing. AI can make it tempting to keep improving a photo long after it already looks good. Too much sharpening, overly smooth skin, extreme contrast, or unnatural colors can make an image feel artificial.
Another mistake is ignoring the source quality. If a photo is extremely low resolution, badly cropped, or motion-blurred, no free AI editor will turn it into a perfect studio image. A better starting photo still matters.
People also tend to skip review. They apply a tool, download the image, and publish it immediately. That can work for simple tasks, but it often misses small issues such as broken edges, repeated background patterns, or over-bright highlights.
How to get more natural results
If you want your edited photos to look clean instead of obviously processed, keep your workflow simple:
- Start with one clear editing goal.
- Remove distractions before you enhance the image.
- Use moderate adjustments instead of maximum effects.
- Review the image at full size and at publishing size.
- Stop editing once the image looks balanced.
This approach works because it treats AI as an assistant, not a replacement for judgment. The tool can do the heavy lifting, but you still decide when the image looks finished.
Why AI photo editing is helpful for non-designers
One reason online AI editors have become so popular is that they lower the skill barrier. You do not need to understand masks, layers, curves, or advanced retouching theory to make a photo usable for a landing page or social post. You simply need a clear idea of what you want to improve.
That makes these tools especially helpful for solo creators, startup teams, teachers, bloggers, and ecommerce operators who need workable visuals quickly. Instead of outsourcing every small edit, they can solve many routine image problems on their own.
A practical free workflow for everyday photo editing
If you are not sure where to start, here is a reliable beginner-friendly process:
- Upload the original image to an online AI editor.
- Remove any object, text, or distraction that weakens the composition.
- Improve brightness, contrast, or sharpness only as needed.
- Export the image and compare it with the original.
- Use the edited version only if it clearly looks cleaner and more useful.
This routine keeps the editing focused and helps you avoid chasing effects that do not actually improve the photo.
Final thoughts
Editing photos online for free with AI-powered tools is now practical for far more than casual experiments. For many everyday tasks, it is the fastest way to clean up visuals, improve image quality, and get content ready for publishing without relying on complex software.
The best results come from using AI with a clear purpose. Start with a decent source image, fix the biggest problem first, enhance only what needs improvement, and review the final image in context. When you follow that process, free online AI editors can save time while still delivering polished, natural-looking results.
